that's how it's done
Photo series with macro lens
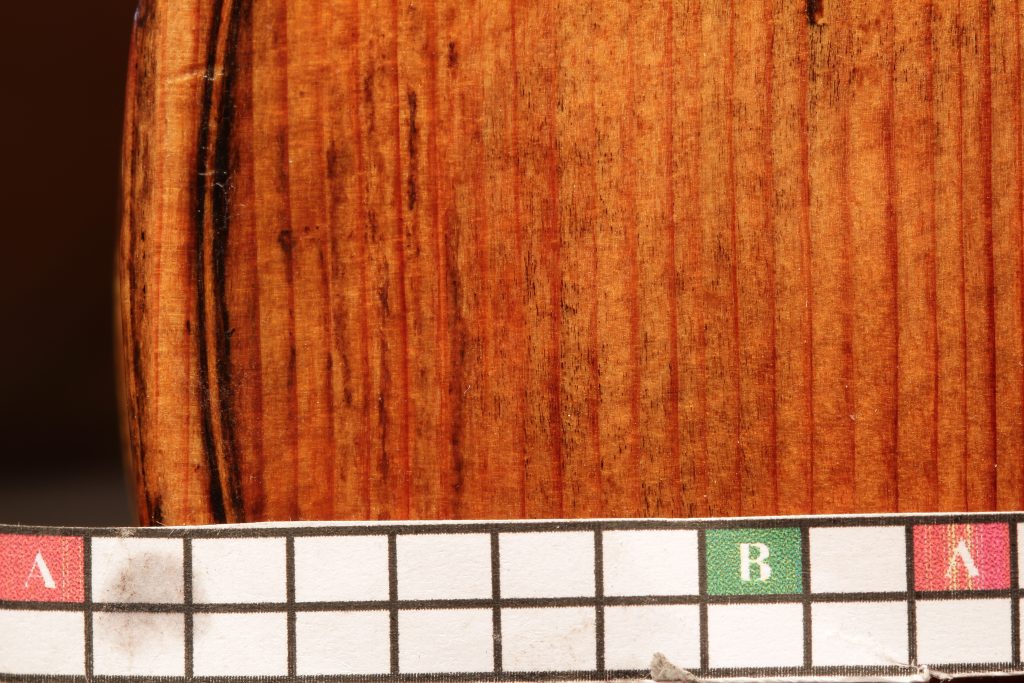
In order to get sharp detailed photos of the annual rings and thus a high level of measurement accuracy, the top of your instrument should be photographed with a macro lens. A series of overlapping photos on the lower bout captures all annual rings.
Maximum image quality and large depth of field
Set up your digital camera as follows:
- highest image quality
- maximum image size in JPG format
- ISO set on 100
- Aperture for large depth of field, depending on camera and lens approx. f/16
A ruler for calibration
In order to be able to calibrate the photos, it is important that a ruler is visible on the photos - you can find one here to print out. Use staples or scotch tape to attach the ruler to the top of your instrument on the under bout. The red line should be centered on the joint (see Photo 1).
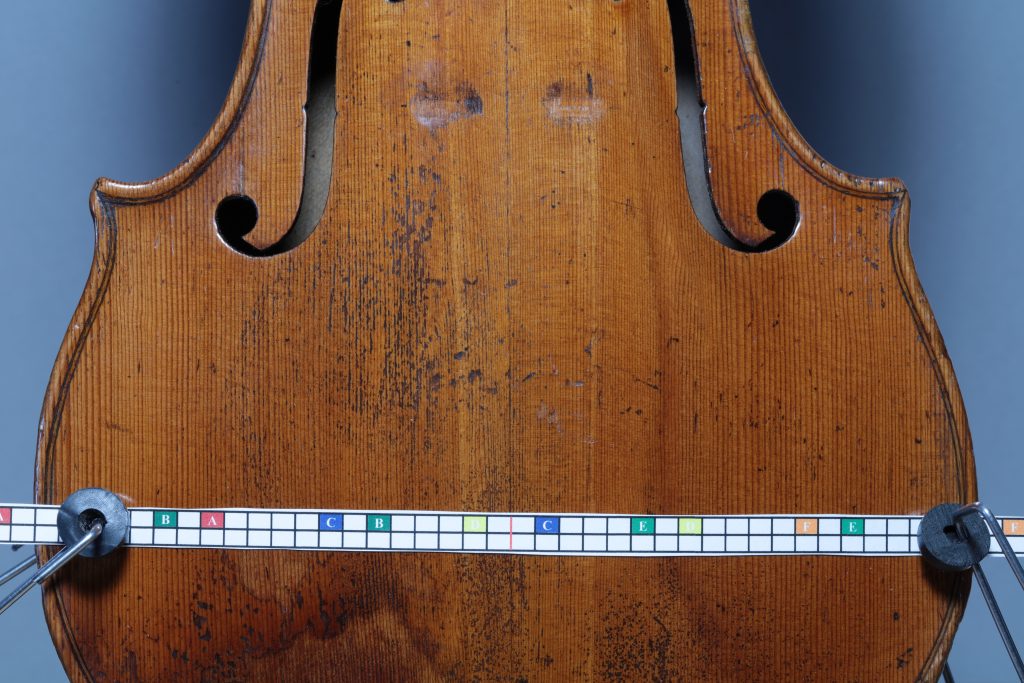
Taking pictures at a 90° angle – please use a tripod
Position the camera and violin so that you can photograph each section at a 90° angle with the ruler visible at the bottom of the photograph (see photo 2). Start on the left at section A–A and work your way up to F–F for violin and viola, or L–L for cello. To prevent camera shake, please use a stable tripod.
Check and send via Wetransfer
Please check in 100% view on the screen whether all photos are in focus. Then please send us the photos via Wetransfer.